CREATING WOW FACTOR WITH PHOTOGRAPHY
Incredible Vintage Portrait photography by Paulina Duczman.
One of the things we never regret is taking and keeping photos. In days gone by I used to hate having my photo taken, and there are periods in life where there are no visible moments available due to me not capturing those moments on camera. Do I regret not taking photos? Yes, I do. In hindsight I would have preferred to capture those moments than have no recollection of them today. There are periods in the early 2000’s where there were no images available and now I see that as crazy.
I truly feel that It is vitally important to celebrate the lives we have now and capture those moments. I don’t think I’ve met anybody, parent, partner, friend, grandparent that ever said they regretted taking beautifully considered photos with the people they love. These days, I have a number of beautiful photographs of the people that mean the most to me on hand. They are all around my apartment. It makes me smile, and it’s so much more meaningful than a printed picture of something I have no relationship to from a retail supplier.
I wanted to share part of my Signature Service with you. I now encourage my clients to plan with me and curate a photographic session with all the trimmings. We choose outfits, I select the right photographer and we produce beautiful photo shoots. I know where the framed pieces will go we work that out in one of our first meetings. I know the client’s style, so from the shoot I add wallpaper, lighting and accessories that align with their innate taste. I install it all in one day and the results are truly astounding.
I would like to share the process, but also open it up to you so that you can learn the steps that I know are essential to a beautiful outcome. I hope you can learn from my process and please feel free to incorporate any of this into a photography project on your own.
1. Pick & plan the area
To create an area of your home with wow factor, you will want to feel comfortable knowing you are about to create a real moment. This will be a calculated plan, with a major outcome. This process will require thought and a plan from the beginning requiring your disciplined focus and energy.
Choose an area that allows you to run a little wild in the creative stakes. A hallway, powder room or entry vestibule may be the perfect choice for this.
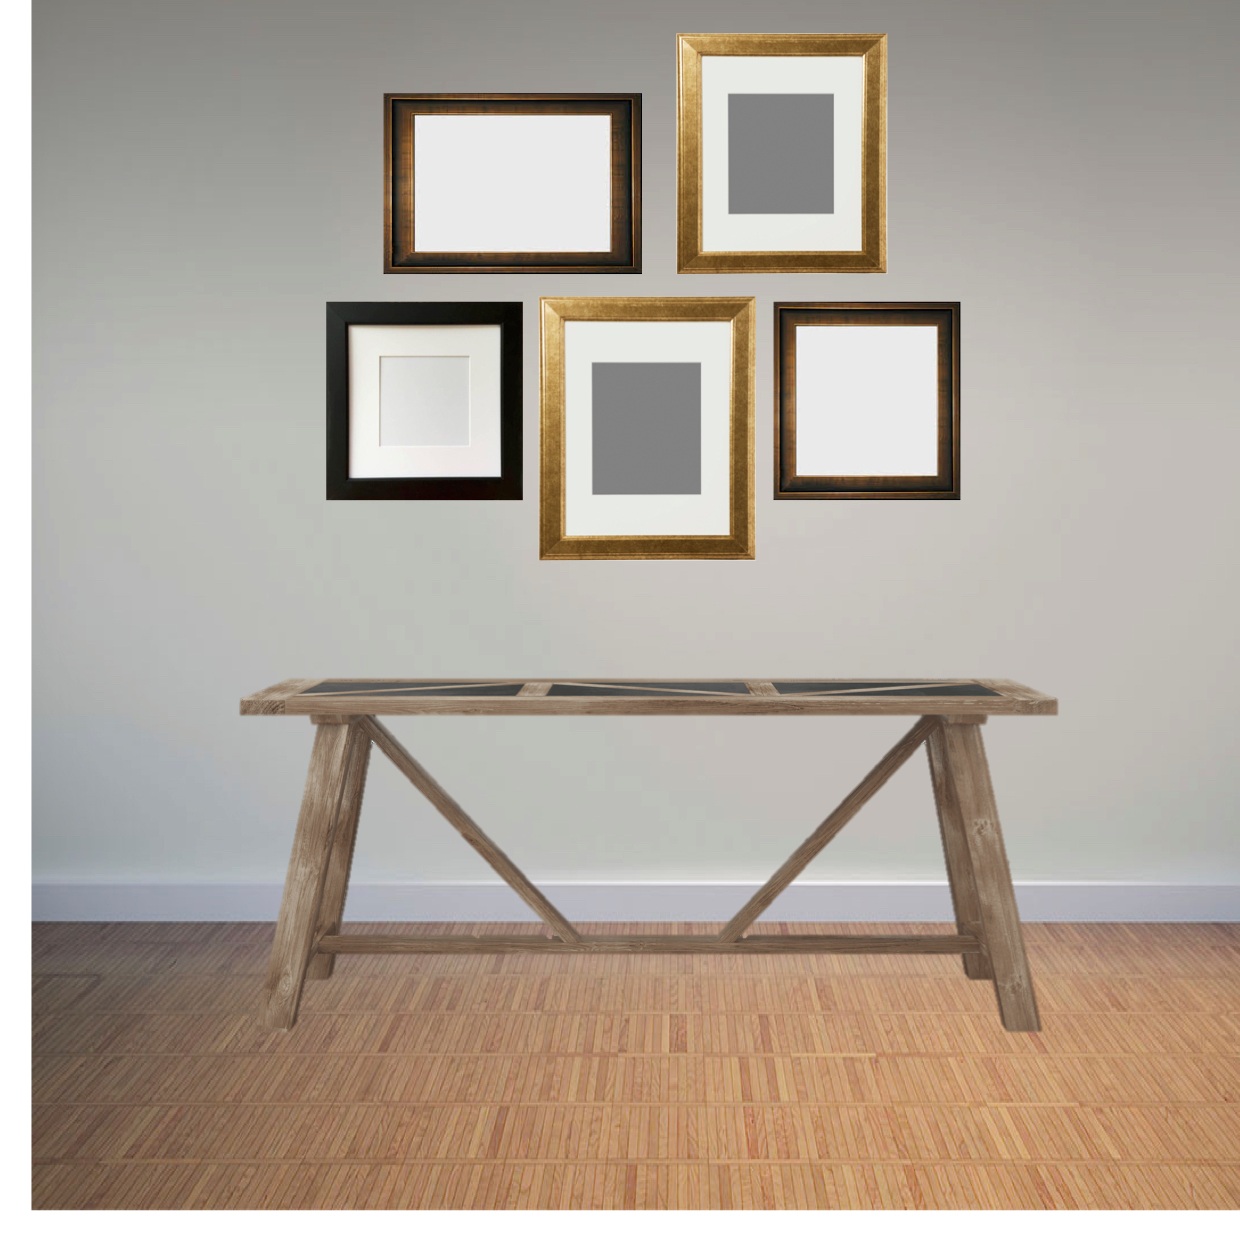
Today I’m going to use a hall and we have chosen a farmhouse, rustic console table to start. Next is the plan to lay out what we need before we personalise it. I know that I am putting framed photographs above the console, and it helps to work out the size and layout before I plan the shoot.
A farmhouse style console and blank hallway wall through is a good starting point.
2. Choose & Curate your mood
Most people have a connection with a specific style. I recommend choosing a style you love and working from there. If you have a console in a hall that feels antique, go with that vintage vibe but complement it in a slightly more modern way. If it is a modern console, think about adding depth and texture that relaxes the feel a little bit.
Decide to create an experience using photography. Wow factor moments don’t really correlate with iPhone photos in cheap looking frames, or even professional photos of your kids in Toy Story 4 t-shirts with a French Provincial console table! Sorry if i sound snooty here, but I’m aiming high and considering how to create a wow moment that is considered and executed effectively. If you have not yet mastered how to create that signature ‘feel’ to your home, start to rectify that by ‘going there’ and allowing yourself to be creative in this new area. You may choose to extend this to the rest of the house over time [I hope you do!]
Plan a gallery wall or large framed photographs from the shoot. If you have other art or keepsake items [you can frame anything from scarves to necklaces] that could be mixed with the photography, do the gallery wall. If you don’t, choose large scale frames that will result from your new photography session with your fabulous photographer!
If you prefer simplicity and symmetry, two large frames are the perfect layout in this scenario.
If you prefer a more relaxed vibe, go with the gallery wall.
If you like the gallery wall idea, you can frame things like a scarf, a beautiful birthday card cover or part of a written note blown up by a loved one. These could complement the photos you are about to produce as an outcome of the photoshoot. If you already have a couple of items that you would like to frame that show a specific colour story, you may tweak the outfits worn in the shoot to pick up on a couple of those colours.
Meet with a photographer and show him/her tear sheets or Pinterest boards with your ideas. We need to set up our photographer for success and help them understand what it is we are really after. Check in that the photographer has a good idea on how to create the desired outcome and do look at his/her portfolio to see if you align with their style. Check there is a connection with each other on this creative experience and iconic series of moments you are about to create!
This Vintage Portrait of a young girl is the perfect mus for the rest of the colour scheme.
Get your kids/partner or whomever in their most complementary outfit. You may even choose to engage a colour consultant or stylist if you aren’t confident in perfecting the outfit part of the equation. If the subject matter are children, they should be photographed in outfits that work well together. If your console is Hamptons/farmhouse style, photograph the kids in traditional poses and create a themed photoshoot. You will pull colours from the photography and for accessories that the console table should be styled with at the very end.
Consider using wallpaper! You can use flat paint if you want to, but the key to an area in your home with wow factor is adding texture and interest. Wallpaper is the way to achieve this.
Carefully selected wallpaper makes all the difference.
Creatively frame the images considering the same style and colourway. Add an ambient light source if none exists. You may need an electrician to install an additional power point. Usually the cost of doing this is not astounding and having additional ambient lighting can make or break the desired outcome.
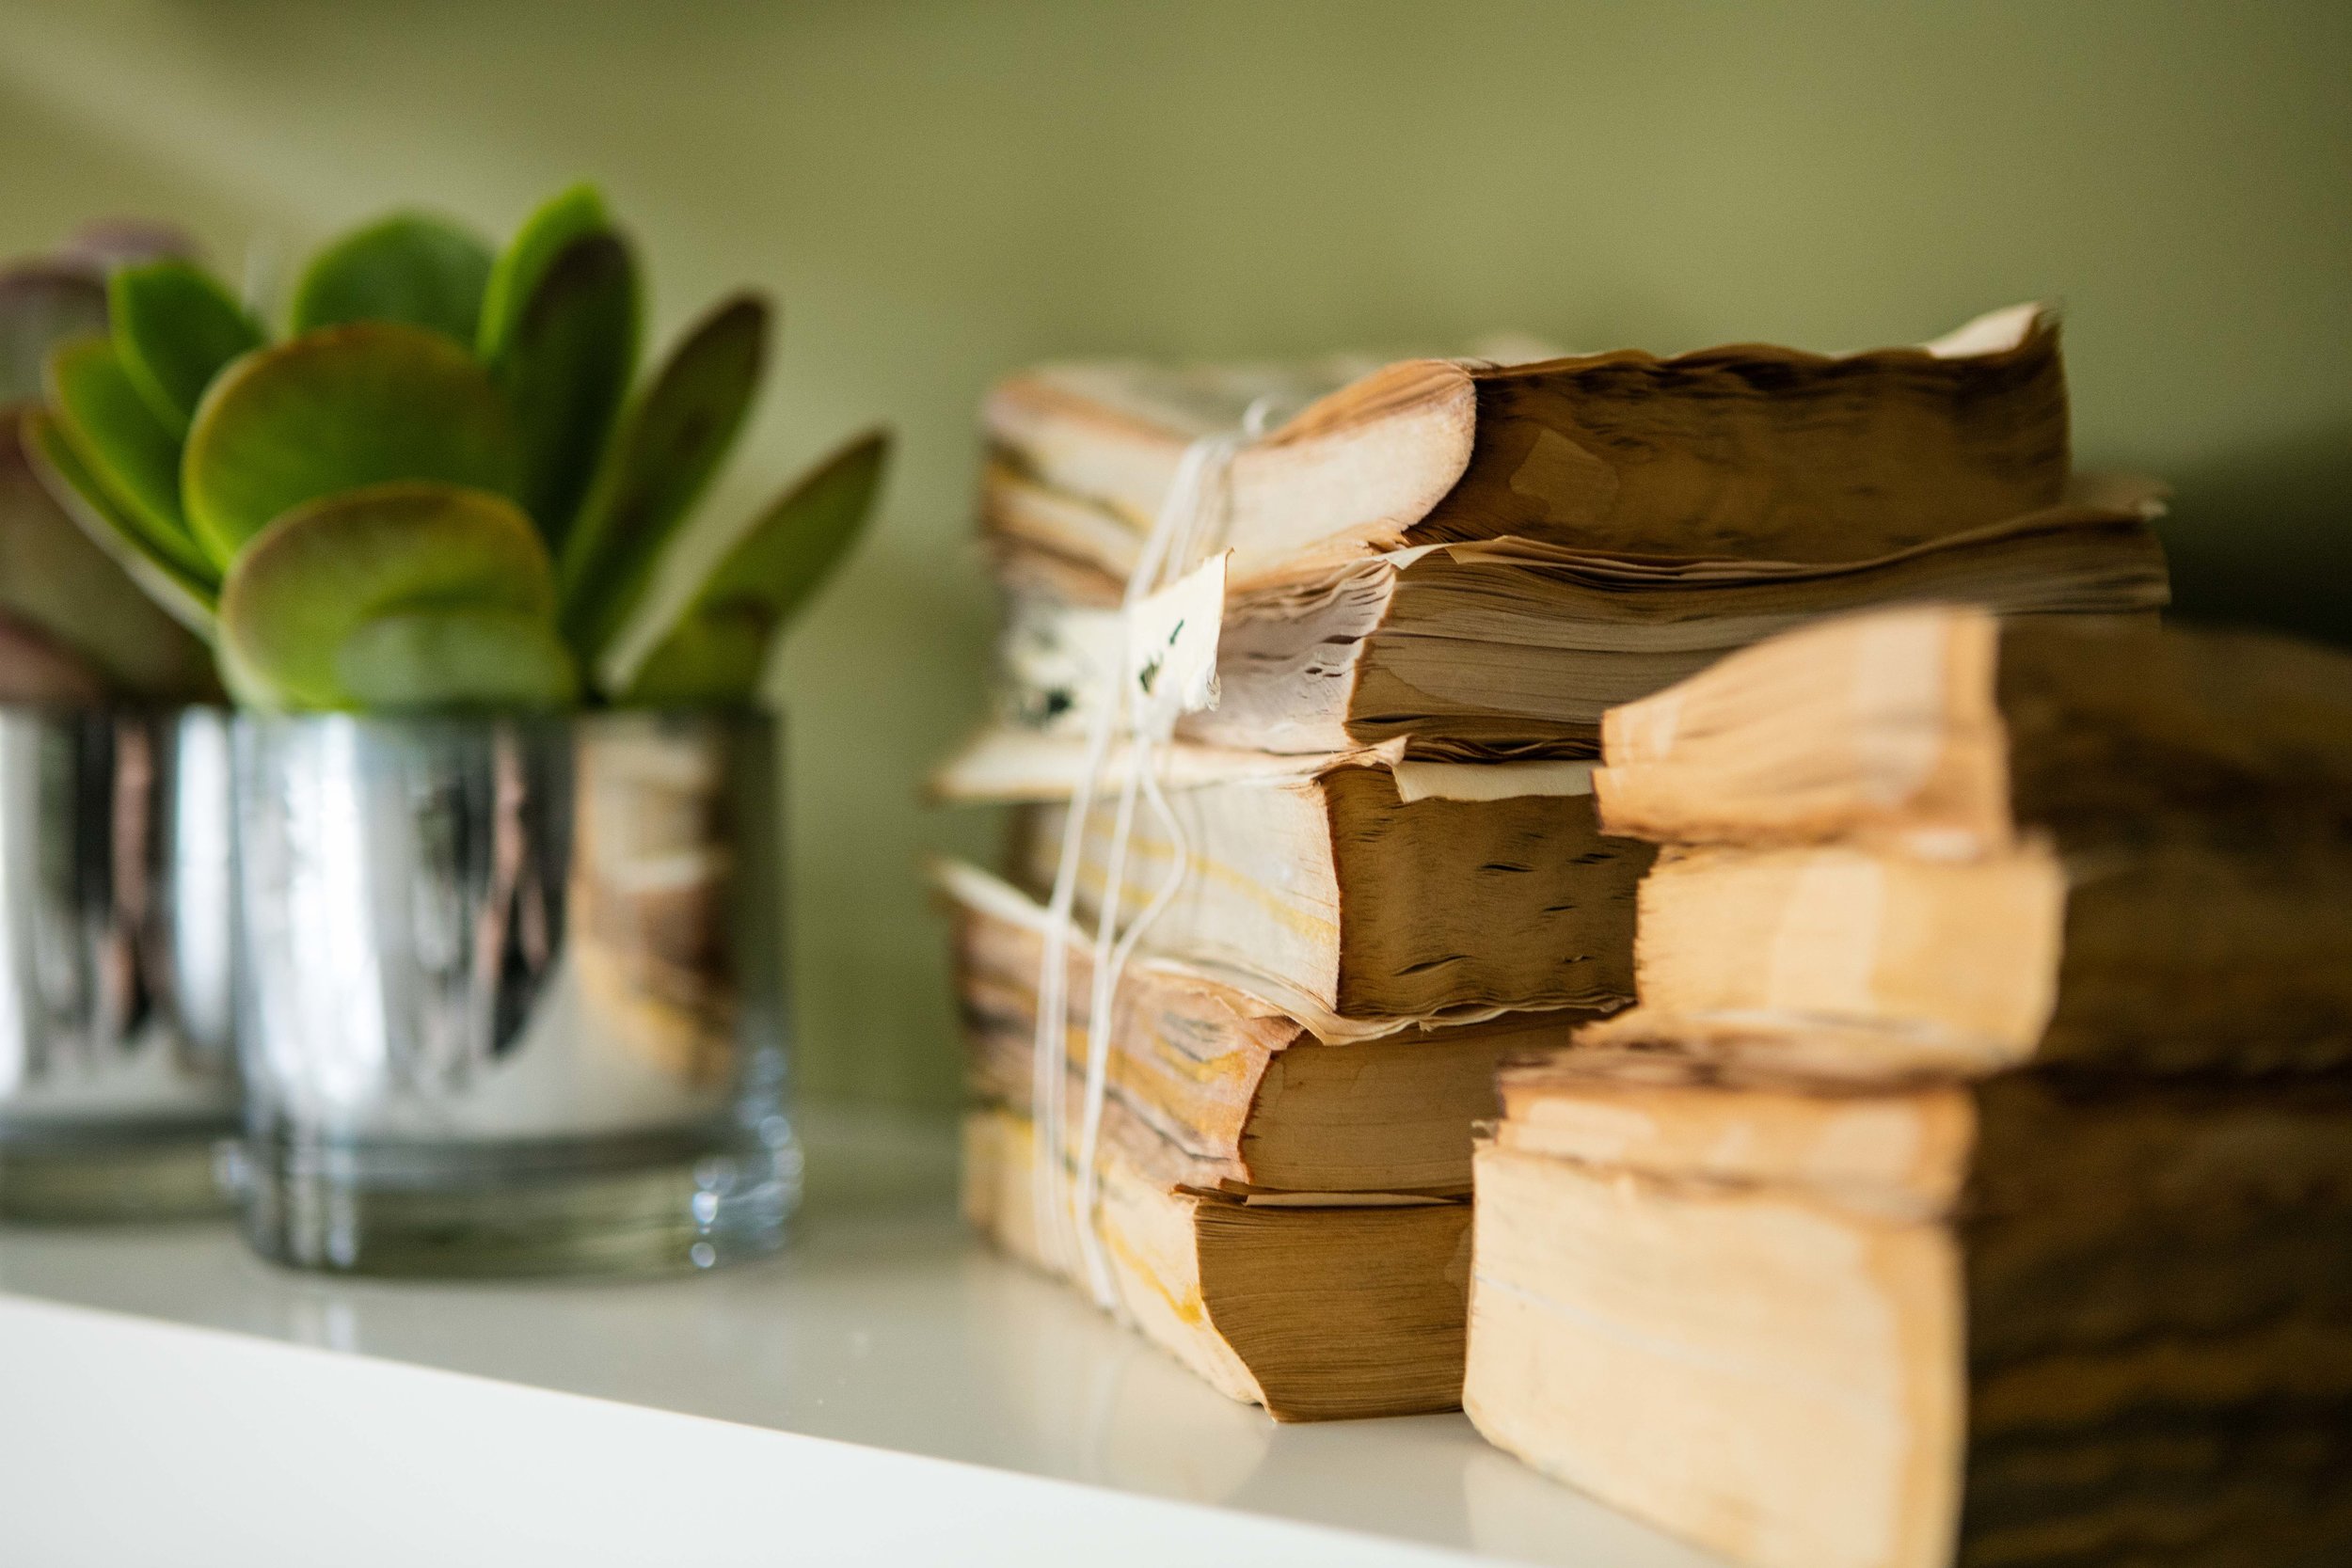
Accessorise! The vignette is not finished unless the finishing touches are sourced to compliment the scheme. Aged novels bound in kitchen twine are a great way to add interest. I created the ones below from second hand novels with the covers removed. I brushed tea all over them and put them in the oven until golden brown!
*PS Take care if you intend to try this!
Aged looking books can be created by putting old books in the oven after dousing them in tea.
3. Install the project
Do this is a concentrated period and on a schedule. Do not hang the images and add the lamp but leave the wallpaper for the future or the other way around. This will defeat the purpose of this exercise. My advice? Go hard or go home with this one.
Voila! The end result should please and have that wow factor! The finished concept is visualised below.
4. Celebrate with champagne and show of your beautiful new vignette!
AS


